标签:python

Using Python and Streamlit with MS SQL
## Table of Contents 1. Create and activate the Python environment 2. Install Python modules 3. Install MS SQL 4. Start coding & Run --- #
 2025-11-22
Install Jupyter notebook on Ubuntu 24.04 and allow remote access.
**References:** **Vultr** How to Install Jupyter Notebook on Ubuntu 24.04 https://docs.vultr.com/how-to-install-jupyter-notebook-on-ubuntu-24
2025-08-12
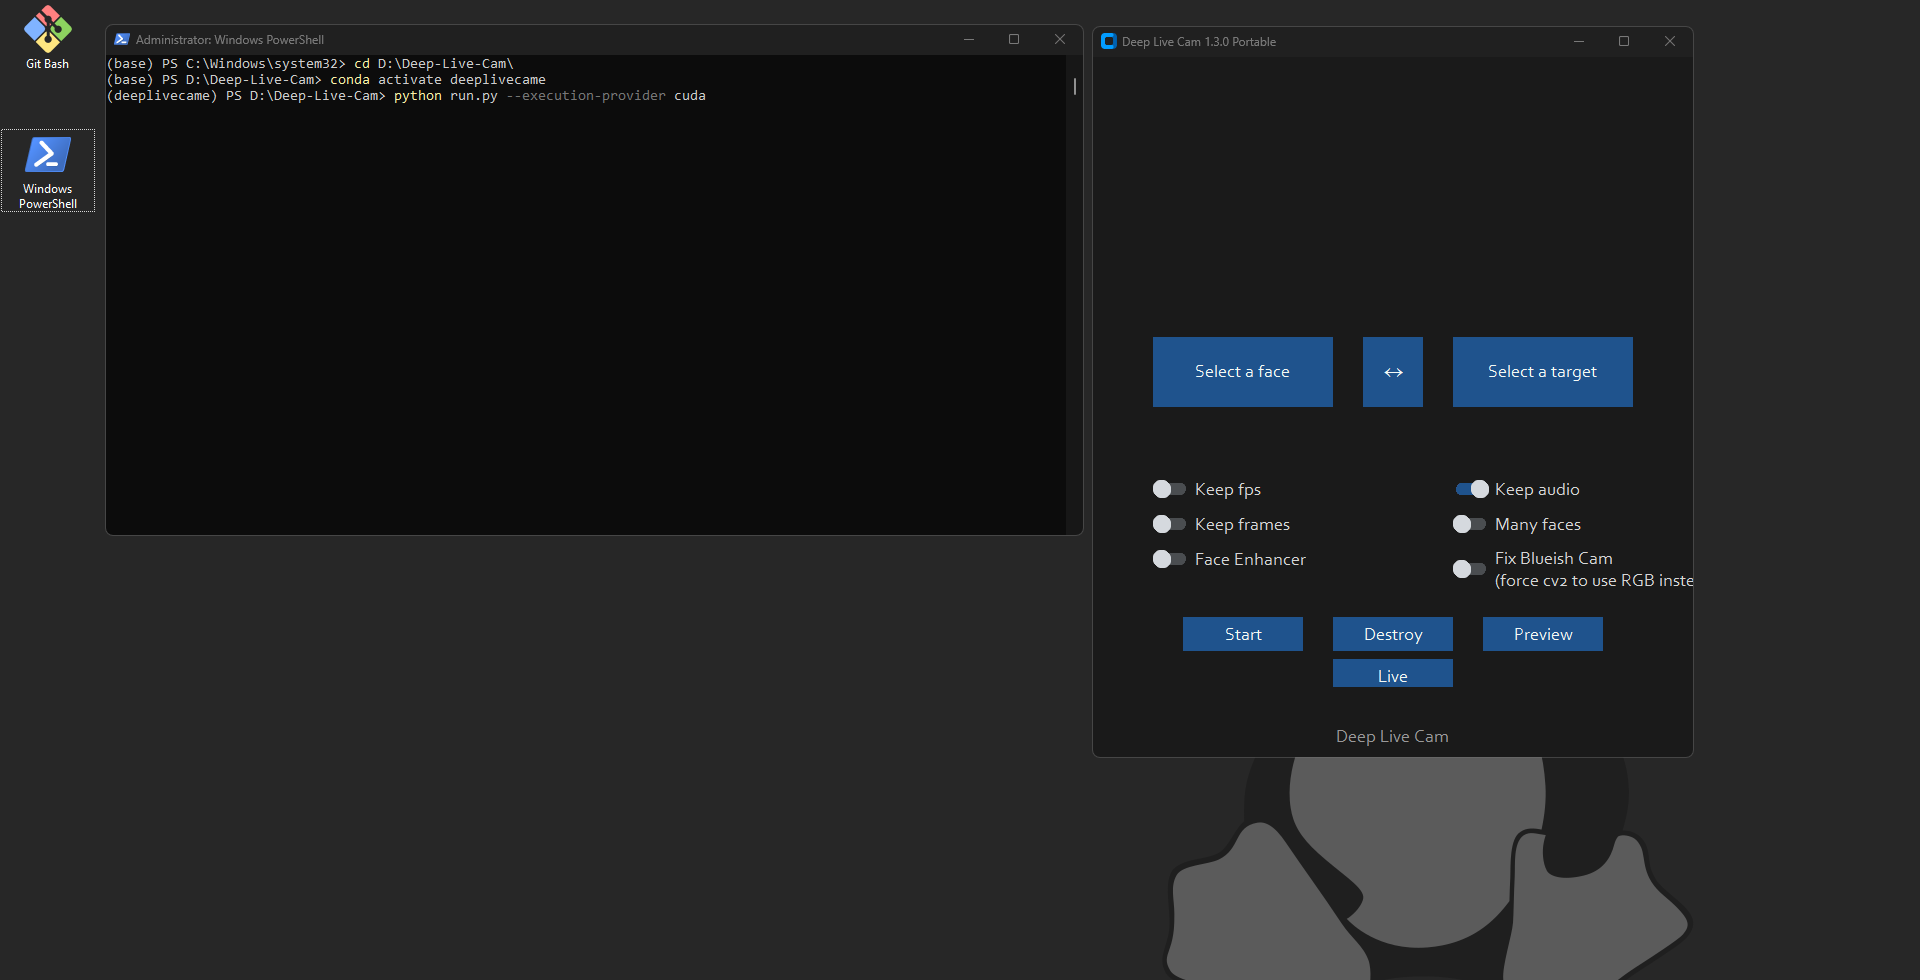
Deep Live cam 笔记
Deep Live cam 笔记项目地址: https://github.com/hacksider/Deep-Live-Cam在本篇笔记中不会涉及cuda,Python,Conda,Git,等相关的计算机知识。只有步骤记录和在使用部署时遇到的问题记录。以下操作都是在Windows操作系统下进行的,
2024-09-06
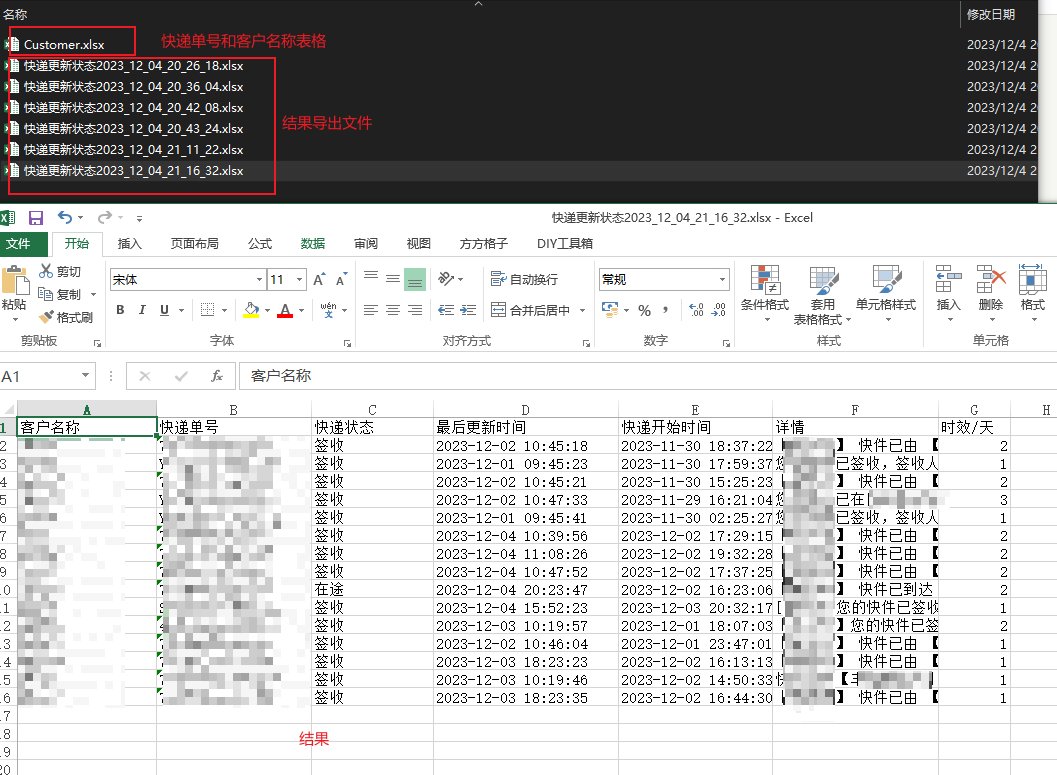
Python 批量查询快递单号,并将查询结果填入Excel中
缘由因为11月份是快递量比较大时候,会有有很多快递单需要查询快递状态;之前是因为单量少,每一个单每一个单去baidu 直接看百度查询到的结果。这两个月由于快递单特别多,于是就打算用Python 结合快递100的API 来查询快递状态代码快递100 API 实时查询状态# coding = utf-8
2023-12-08
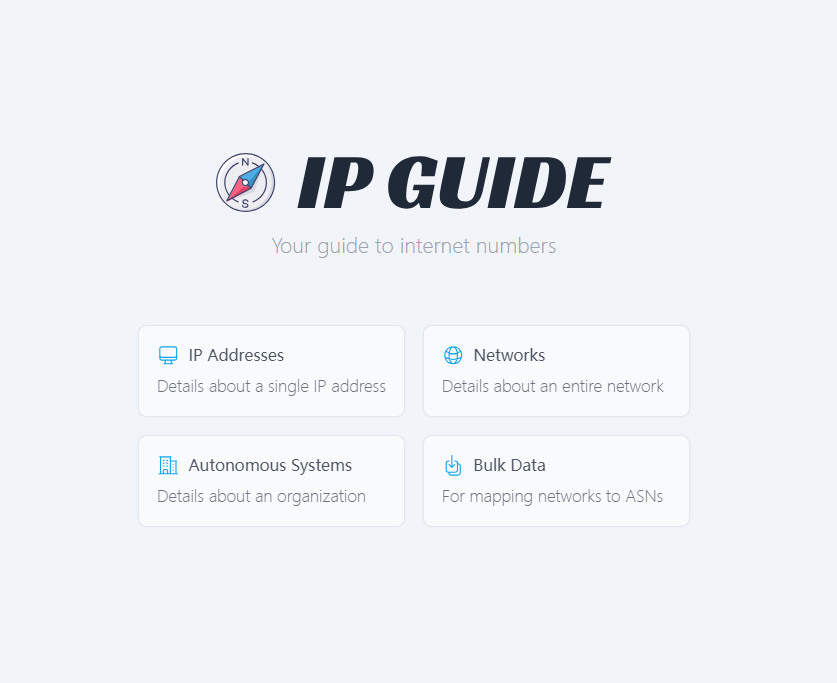
Coding Practice. Use an IP Guide retrieve your ip information
IntuductionWhen we need to check some IP address information , do we have to open the browser, then type the googl domain and copy-paste the IP addres
2023-12-02
Using Python with the OpenWeather.org AP
Using Python with the OpenWeathermap.org APIIn these notes, we will explore how to utilize Python with a free weather API (Application Programming Int
2023-09-27